Installing solar panels involves several steps that require attention to detail from propery owners and contractors, from the initial assessment to final installation and commissioning. Here’s a basic overview of the process to remember as you progress through your own energy transition:

Site Assessment: A solar installer visits the site to assess its suitability for solar panels. Factors such as roof orientation, shading, structural integrity, and local regulations are considered.
Design and Proposal: Based on the site assessment, the installer designs a solar energy system tailored to the specific needs of the site. They provide a proposal outlining the system’s size, layout, cost, expected energy production, and potential savings.
Permitting and Paperwork: The installer handles the necessary permits and paperwork required by local authorities and utility companies. This may include obtaining building permits, submitting interconnection applications, and securing any rebates or incentives.
Material Procurement: Once permits are obtained, the installer orders the necessary equipment and materials for the solar panel system, including solar panels, inverters, mounting hardware, and wiring.
Installation Preparation: Before installing the panels, the installer may need to prepare the site by reinforcing the roof, if necessary, and clearing any obstructions that could shade the panels.
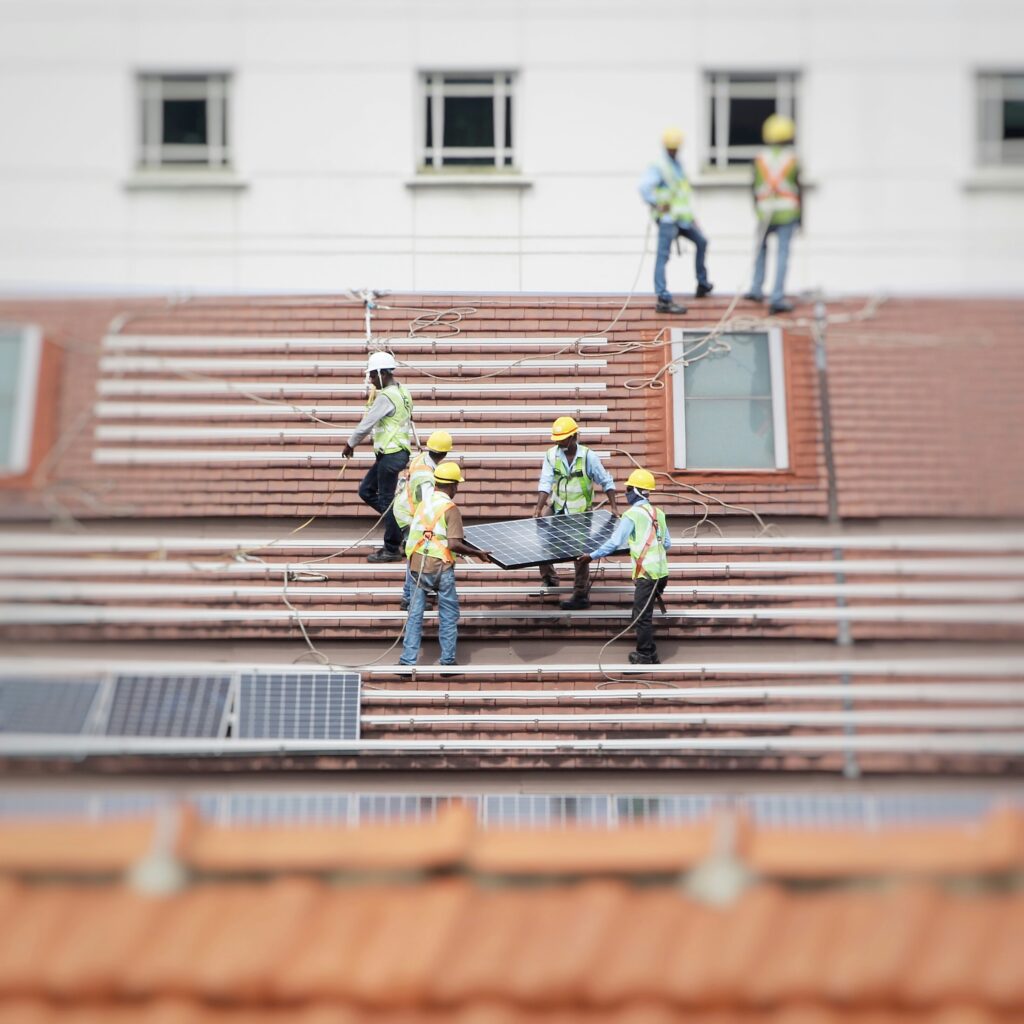
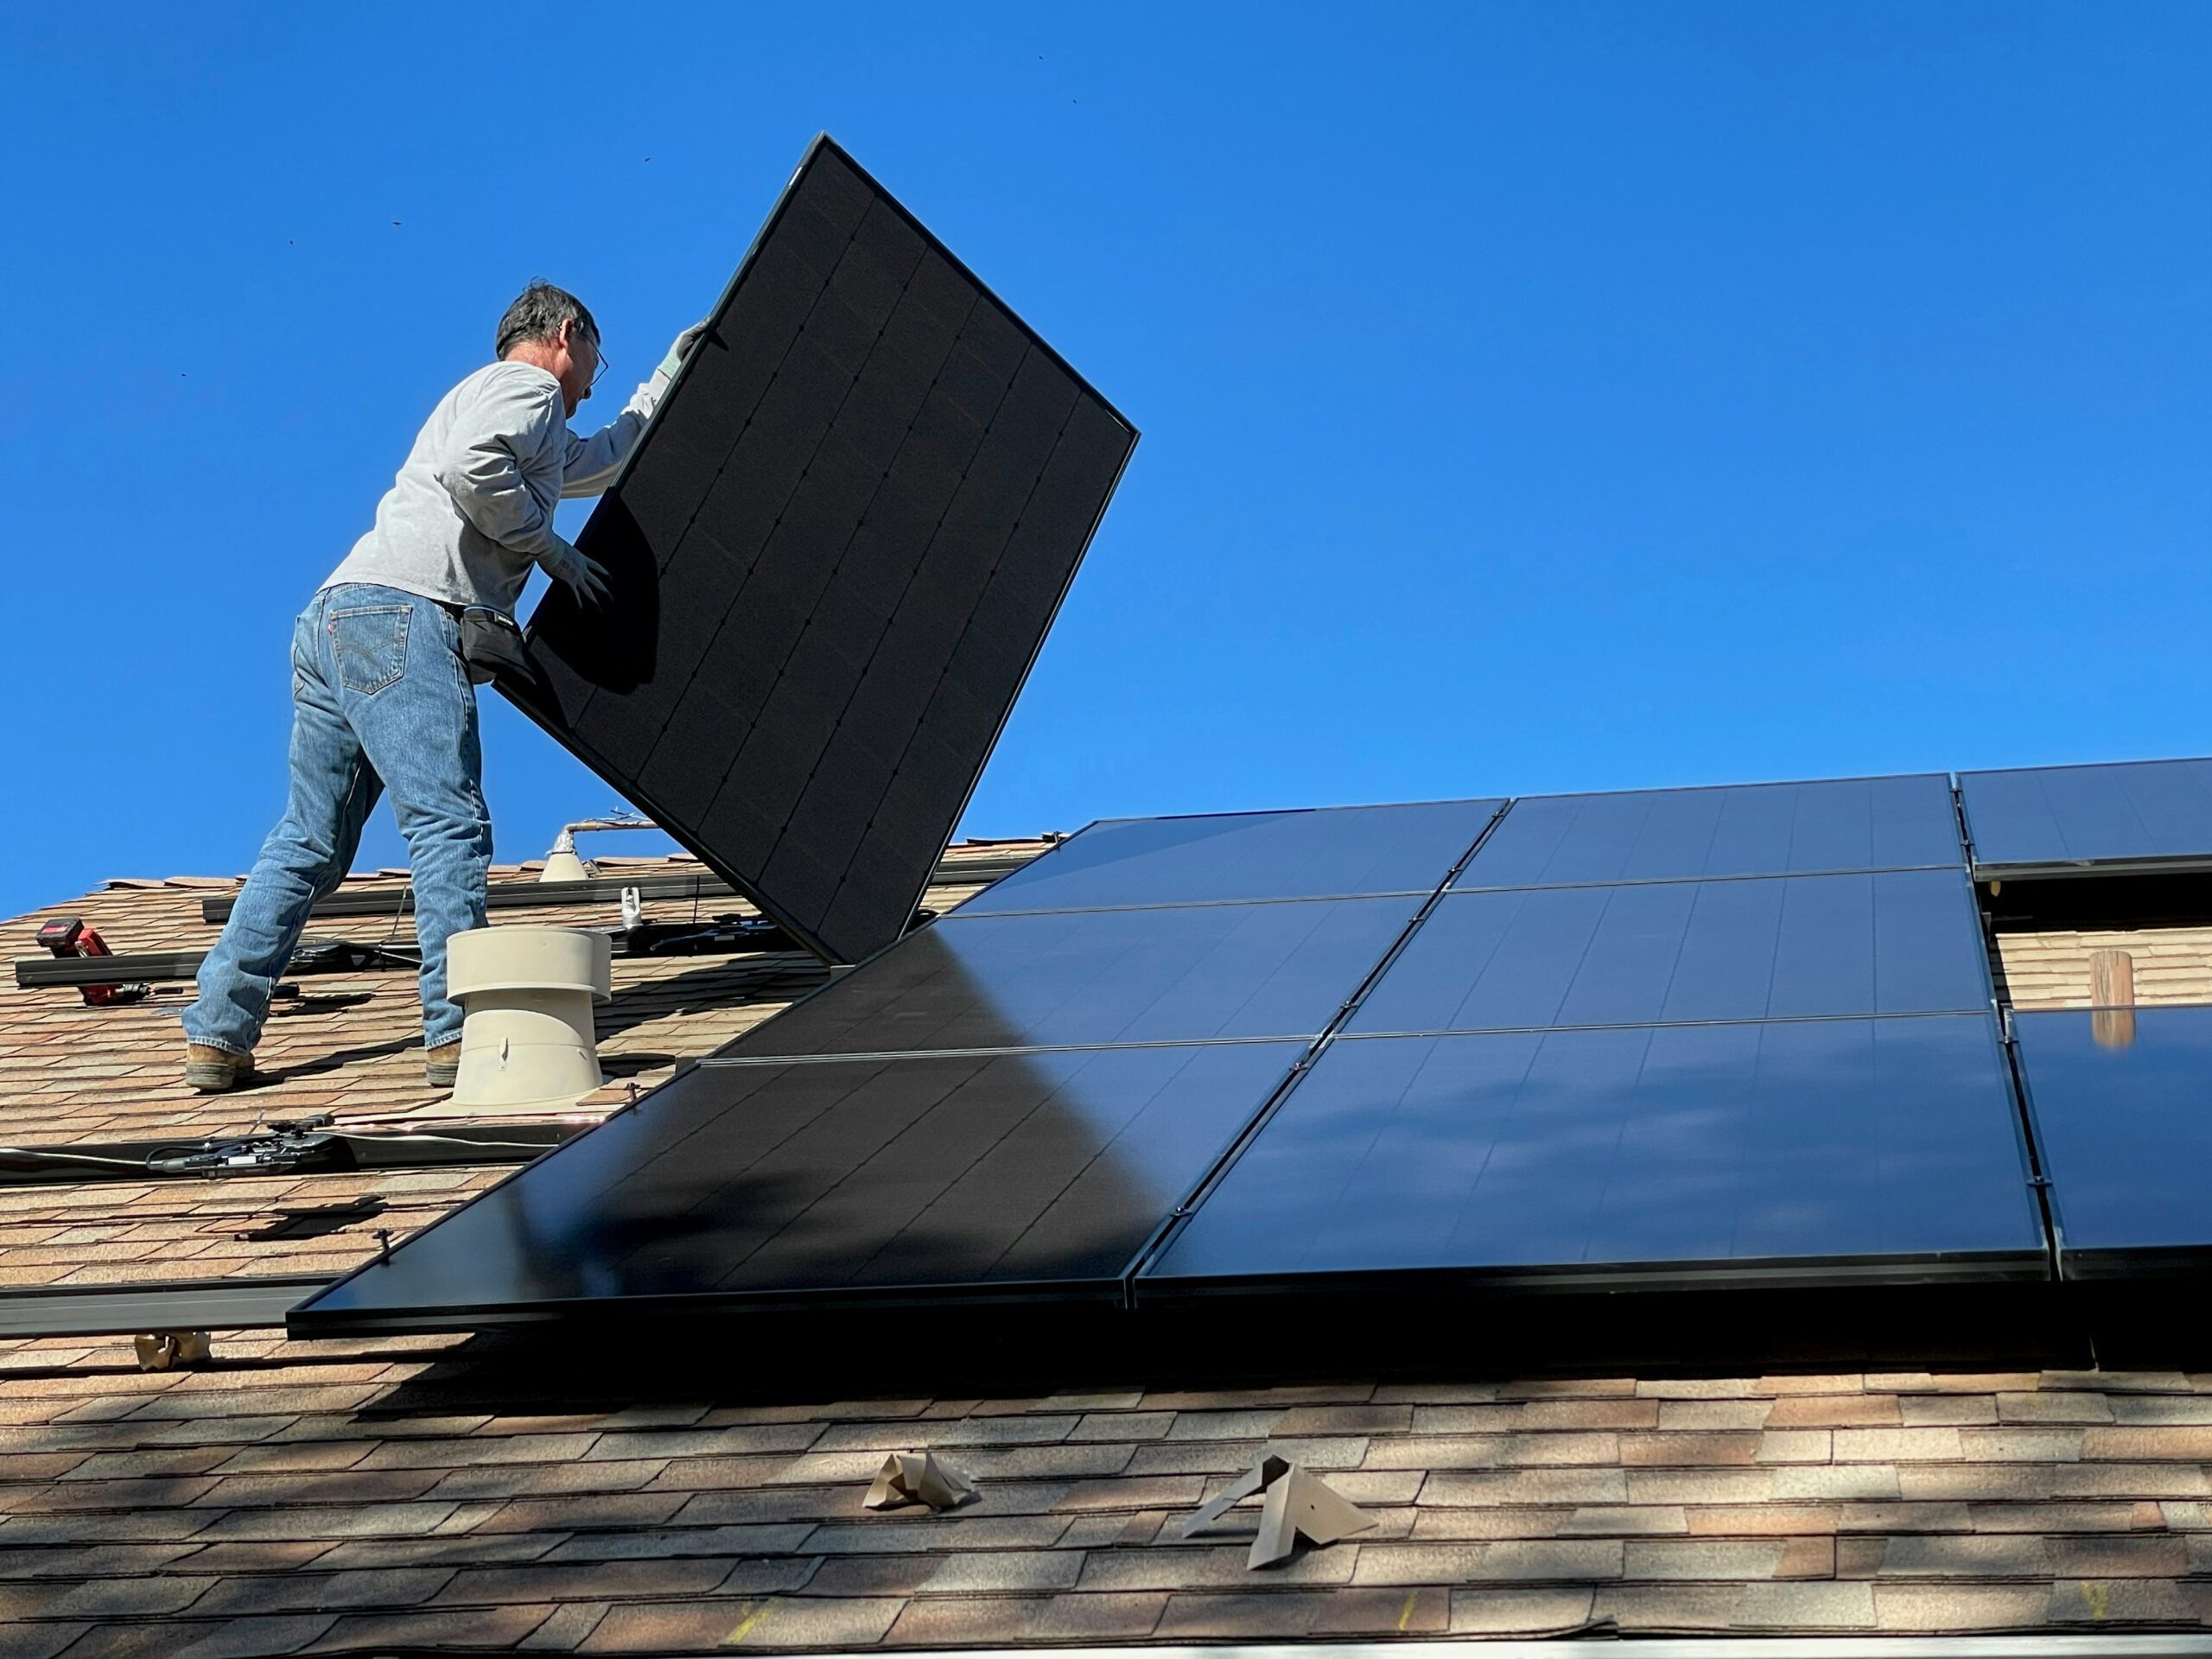
Panel Installation: The solar panels are mounted onto the roof or ground-mounted racks using specialized mounting hardware. Wiring is installed to connect the panels to the inverter and electrical system.
Inverter Installation: The inverter, which converts the DC electricity produced by the solar panels into usable AC electricity, is installed either indoors or outdoors near the electrical panel.
Electrical Connection: The installer connects the solar energy system to the home’s electrical panel, integrating it into the existing electrical system. This may involve upgrading the electrical panel or installing a new one to accommodate the solar system.
Testing and Commissioning: Once the installation is complete, the system is tested to ensure it is functioning properly and safely. This may include checking electrical connections, verifying system performance, and conducting a final inspection.
Utility Connection: The installer coordinates with the utility company to connect the solar energy system to the grid, enabling the homeowner to receive credit for any excess electricity generated by the system through net metering or similar programs.
Monitoring and Maintenance: After installation, the homeowner can monitor the performance of the solar energy system using monitoring software provided by the installer. Regular maintenance, such as cleaning the panels and inspecting electrical components, helps ensure the system operates efficiently over its lifespan.
By following these steps, a solar energy system can be successfully installed, providing clean, renewable energy to power homes and businesses.

Property Owner’s Guide to Wind Assessment
Conducting a wind resource assessment for property owners involves several steps to determine the feasibility of installing a wind[…]

The Environmental Impact of Hydropower
Hydropower, which harnesses the energy of flowing water to generate electricity, has both environmental benefits and drawbacks. Here’s an[…]

The Science of Solar Cells and Continuous Improvement
The science behind solar cells is continually evolving, driven by efforts to increase efficiency, reduce costs, and expand the
Stay in the know with the least news and updates on the energy transition.